
Outdoor Relaxation with a Pea Gravel Patio

The Finished Product
Finishing the Deck
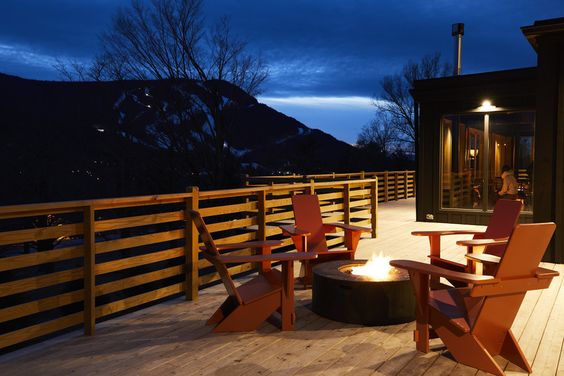
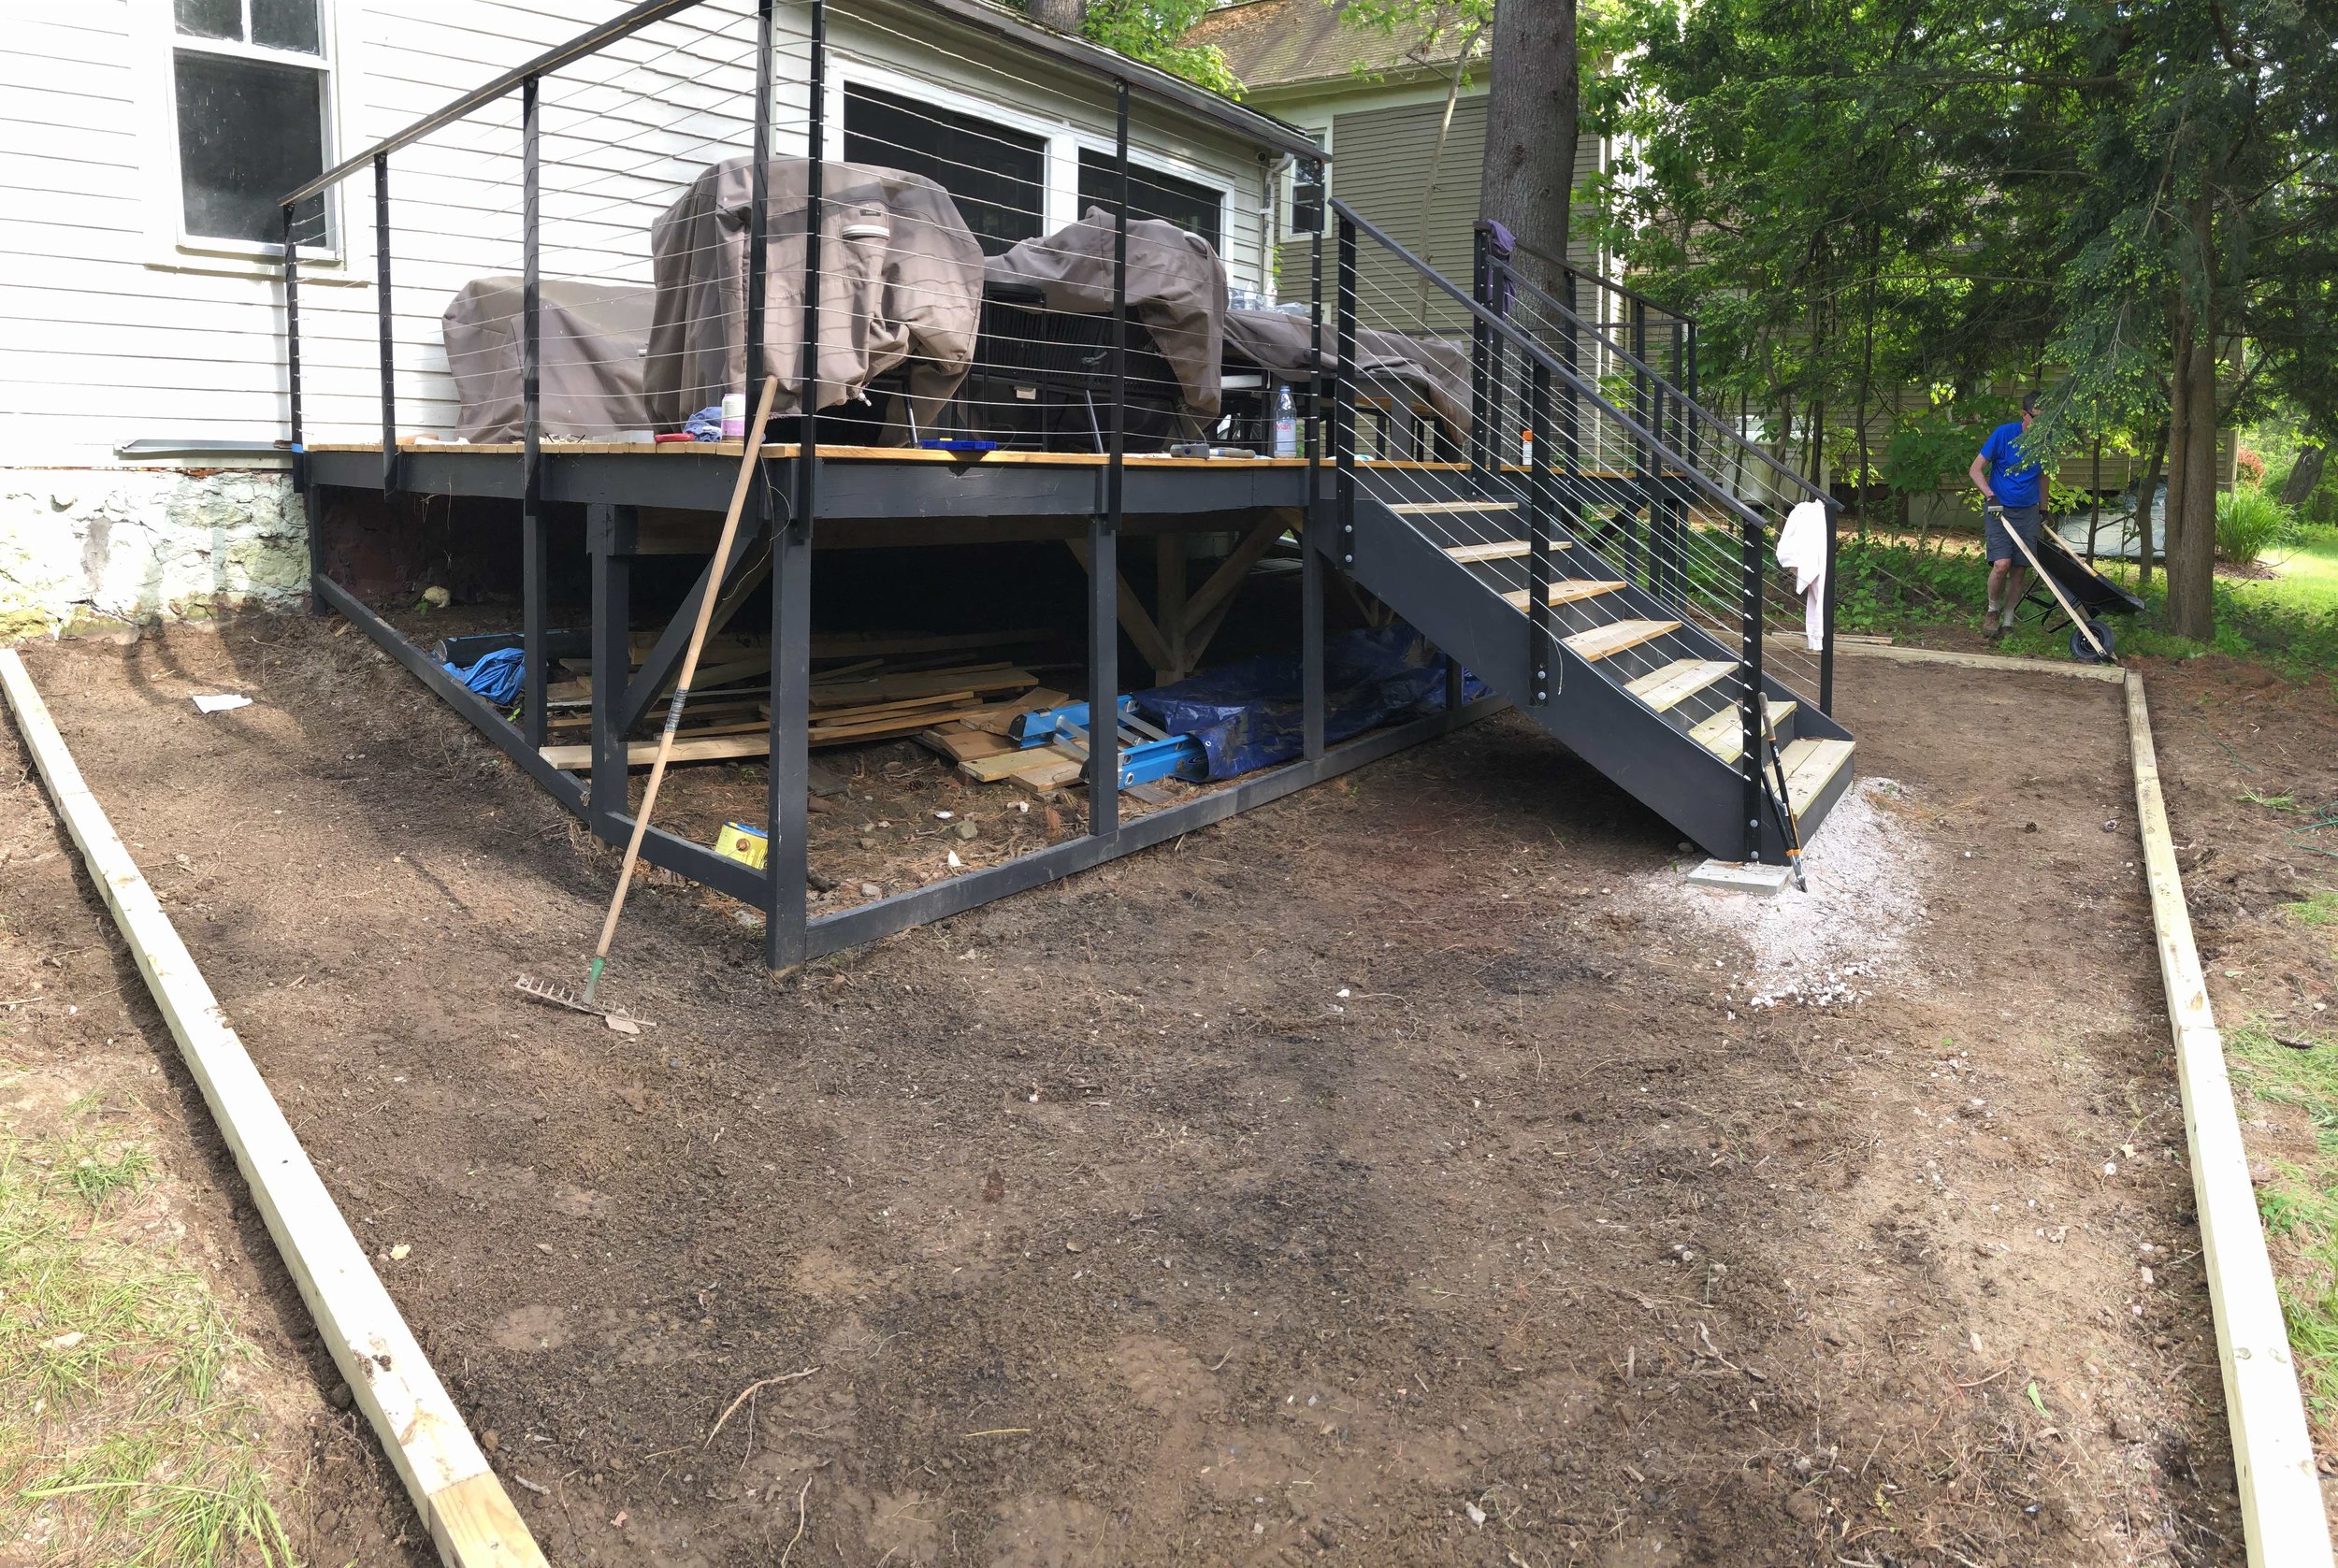
Re-doing the deck on my upstate NY house last summer was a game changer (check out the project here!), but it didn’t quite feel finished. The stairs off the back just led sort of into the yard, I wanted a spot for a firepit, and to just have the whole thing feel more complete. I had played with the idea of extending the deck to the full width of the house, but that was becoming more of an endeavor than I was willing to do (it would have included contractors and digging for another footing and just too much)
So, I started looking at patio options. Pea gravel stuck out right away because it’s super DIY friendly and relatively inexpensive.
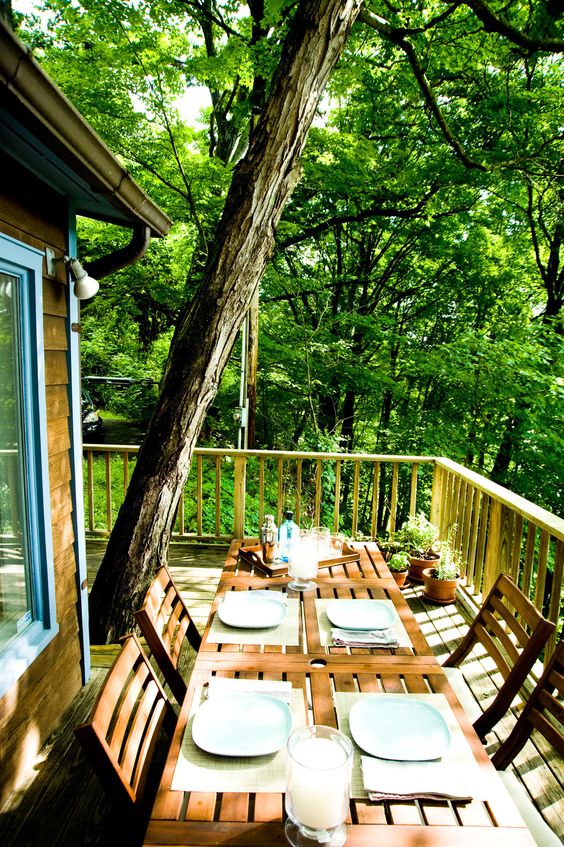
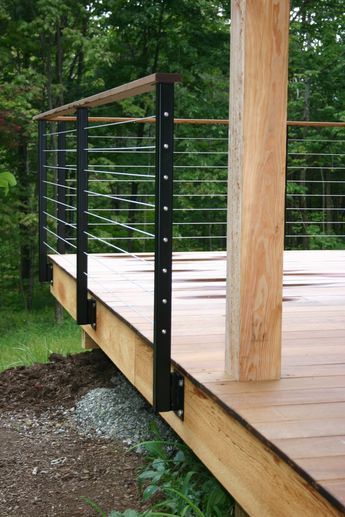
Quick Refresher on the Inspiration for the Deck/Outdoor Space


Planning the Patio
Buying patio materials requires a lot of weird math and calculators, especially to order gravel. I started by consulting the interwebs for DIY tutorials (like this one) for a pea gravel patio. The consensus seemed to be the following steps:
Dig out the patio area and level the dirt — the depth to dig down recos vary a bit, but generally 3” or so and packing down the dirt to be a solid base for the patio
Install Edging — for us, this was pressure treated 4x4s painted black to match the base of the deck
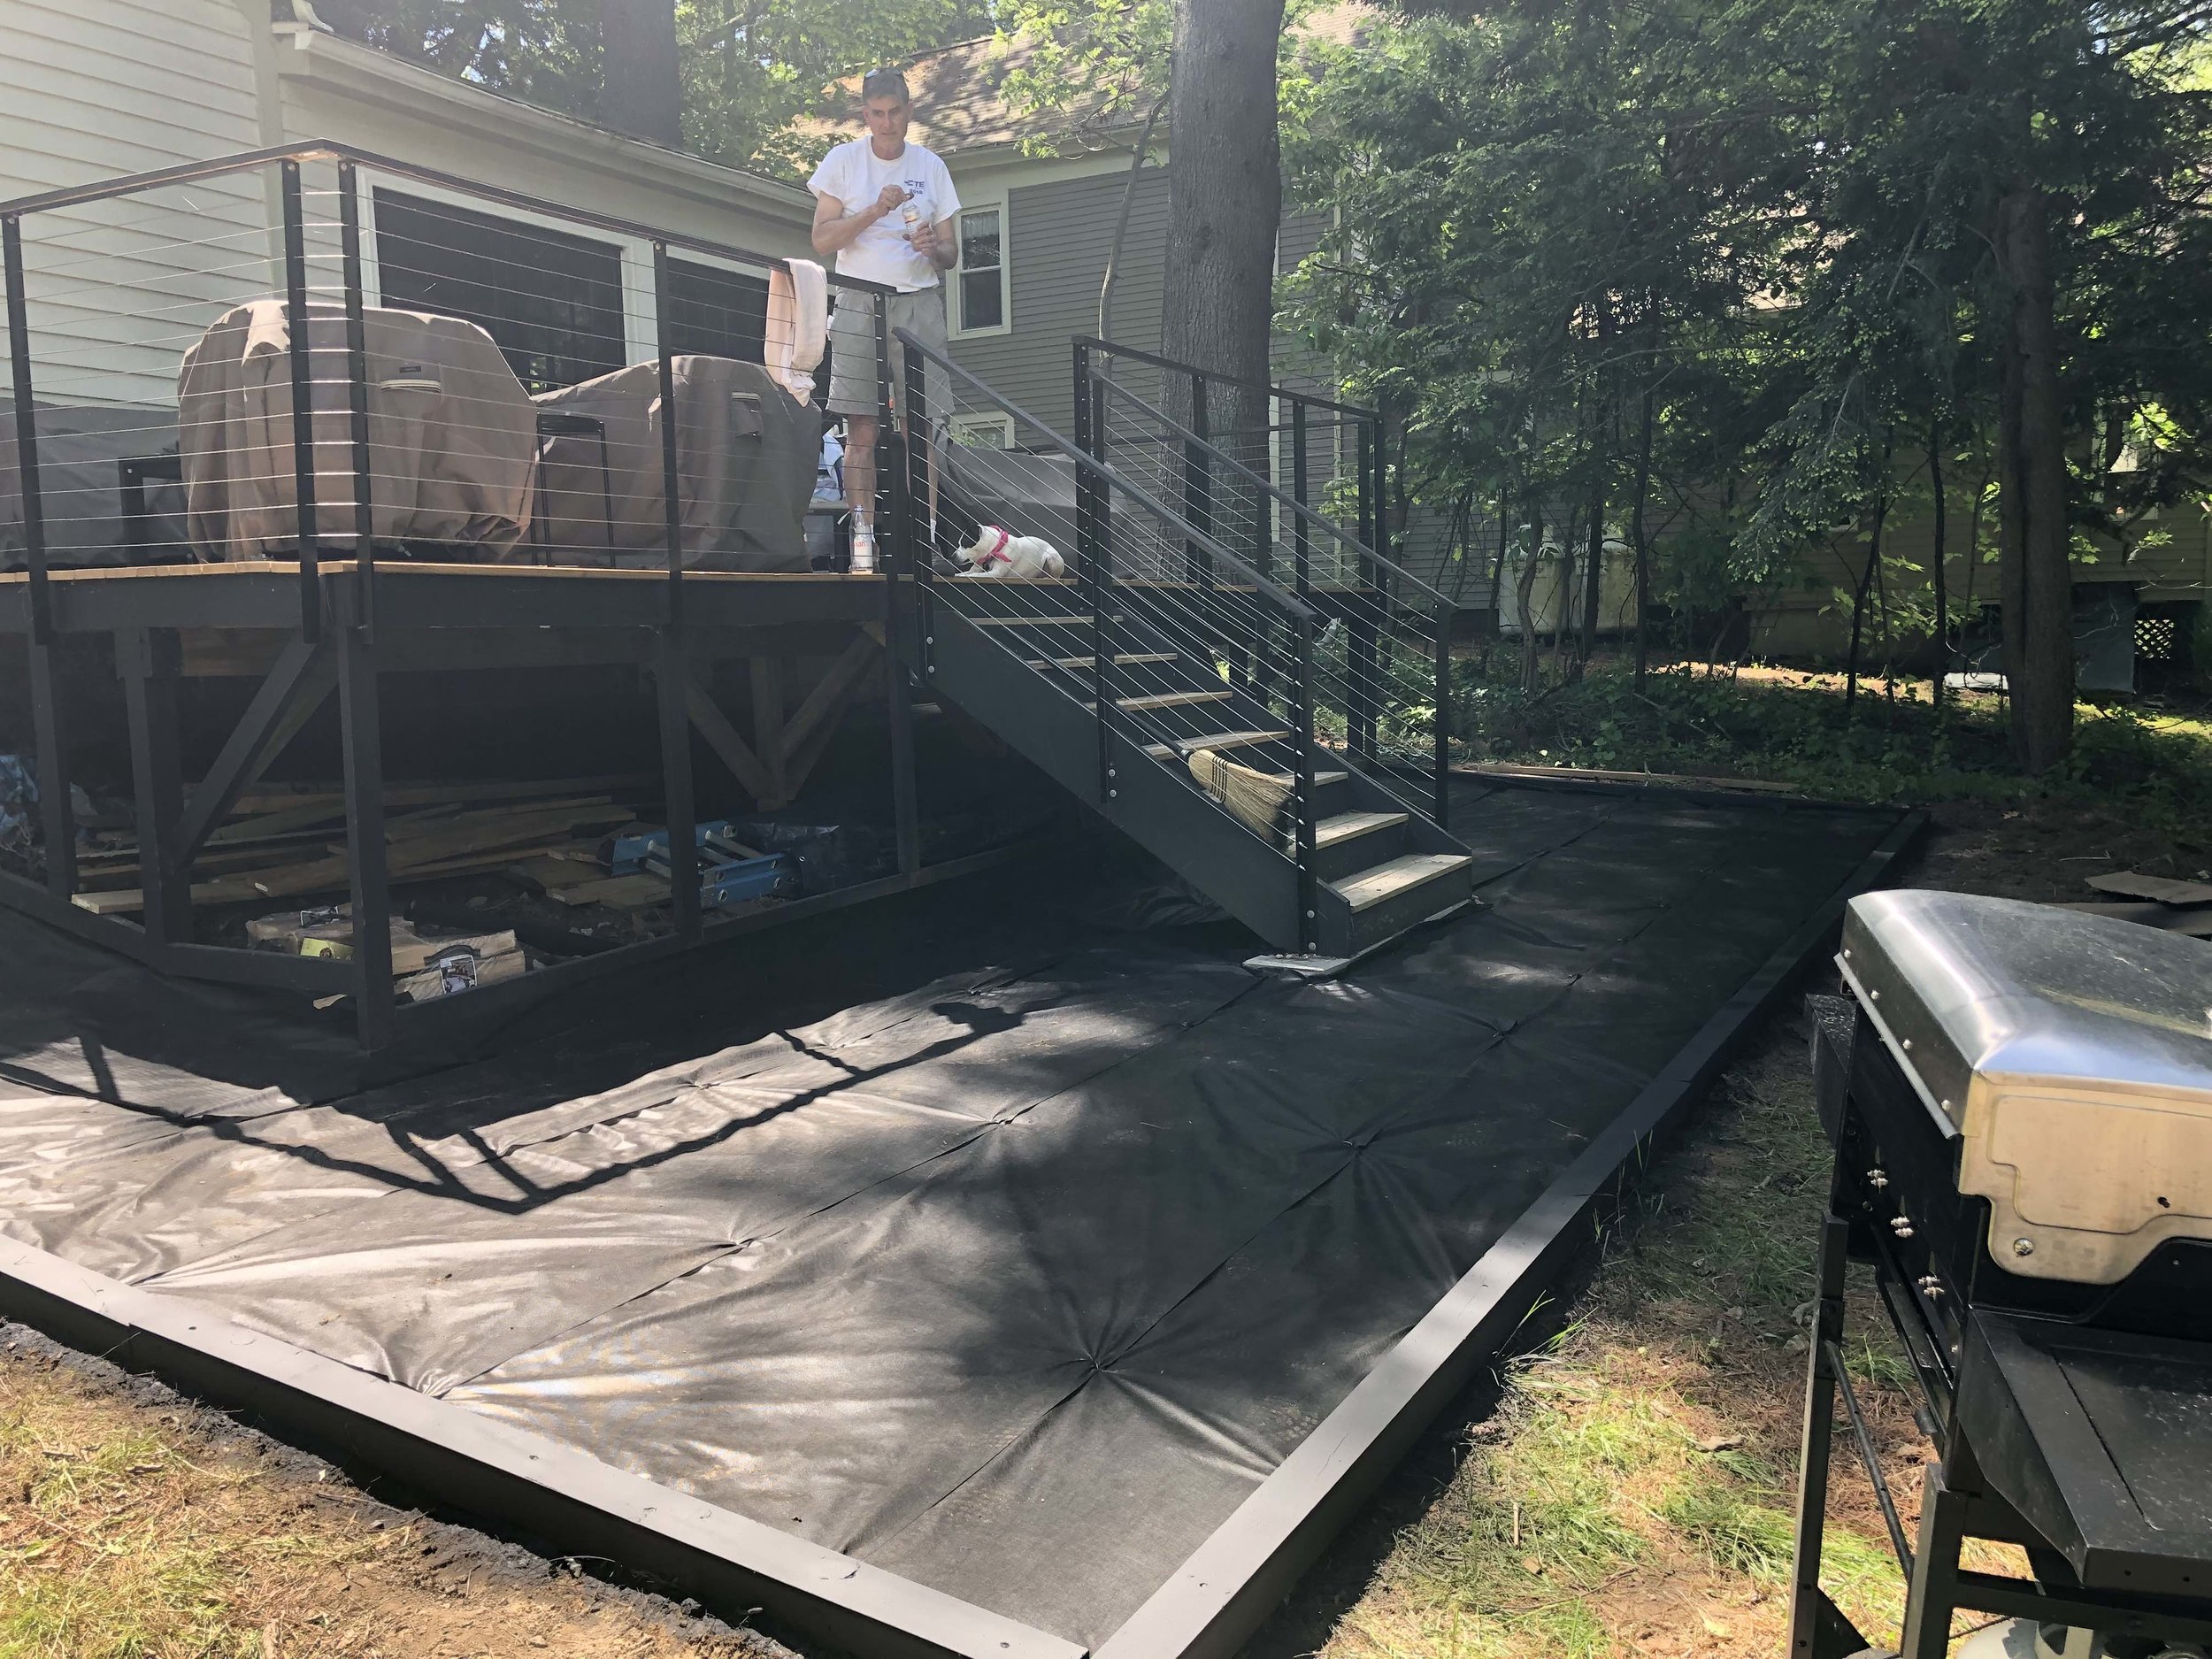
Install Landscape Cloth — this blocks plants from coming up through the patio (some tutorials reco herbicide, but that’s not my jam so we skipped it)
Pour & Spread Gravel — casually spread 160x40lb bags of gravel
But first, we measure.
The shape of the patio was a sort of “L” to wrap around the side of the deck up to the edge of the house. For materials estimation, I split the patio into two rectangles (because it’s WAY easier to calculate the volume of a box than some weird “L” shape).

Let’s Get to Work!
My lovely parents came up for Memorial Day Weekend to participate in the patio extravaganza. Thankfully the weather was beautiful and the work was pretty quick.
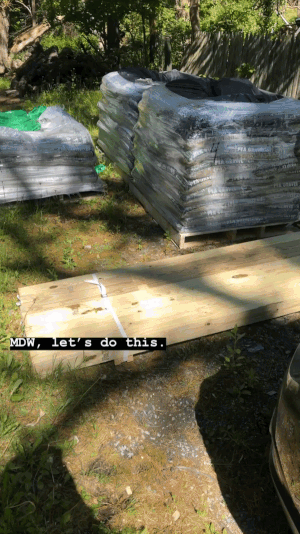
After using lovely square ft to cubic ft calculators on the internet, I ordered all of my supplies from my local Lowe’s which included:
7x 10' 4x4s for edging
160 bags of .5 cubic ft pea gravel (enough for about 3” of depth per internet recommendations)
Roll of landscape cloth (ordered from Amazon)
Landscape cloth stakes
Rebar (to hold edging in place) pro-tip: Lowe’s sells rebar cut to 2 and 4’ lengths so you don’t have to transport 8 or 10’ home!
Tools Needed:
Power Drill & Spade Bit — to cut holes in 4x4s for rebar
Small Sledge Hammer — to pound rebar into ground
Pick Axe (optional, but my BFF) — to dig up dirt and hack out vines. Much easier way to till soil than a shovel because you can swing it
Large Pruning Shears — used to cut out plants
Gloves
4’ Level — to check how level your edging is
Project Cost:
$85 for 4x4 edging
$600 for gravel
$50 for misc tools and hardware needed
Quick & Only a Little Dirty
The whole patio came together really quickly! We spent 3 short days on it to dig out, edge, and fill with gravel. The hardest part was surely hauling the bags of gravel around (each one weighs 40lbs!). I’ll have a little maintenance to fill some spots once the stones settle, but all in all very very easy.

Complete with supervising doggo
Closing Thoughts
This was a really great DIY. Easy to pull together and look nice (not like a hacked together job rough around the edges). The biggest hurdle was calculating materials and getting them ordered. I probably could have saved some money having a local landscape co bulk deliver the gravel rather than ordering a million bags from Lowe’s, but I was short on time and this worked out well!
10/10 would do project again.
x